3D Comic Development
After reading through Alternate Trigger, one of the most frequently asked questions people have is, "how did you make that?" 3D wasn't quite as common (at least in the Legends community) back when AT first started out (December 2003) so people found the process interesting. The fact is though, that the program I used for AT back then, Corel Dream 3D, was quite antiquated even at that time, and it's still what I'm using today. And so, I feel that the creation process is different enough from present day 3D methods that it may still make for an enlightening read.
Note: Some of this may have been covered in Jishi's segments in Parts 01 - 03 of Alternate Trigger.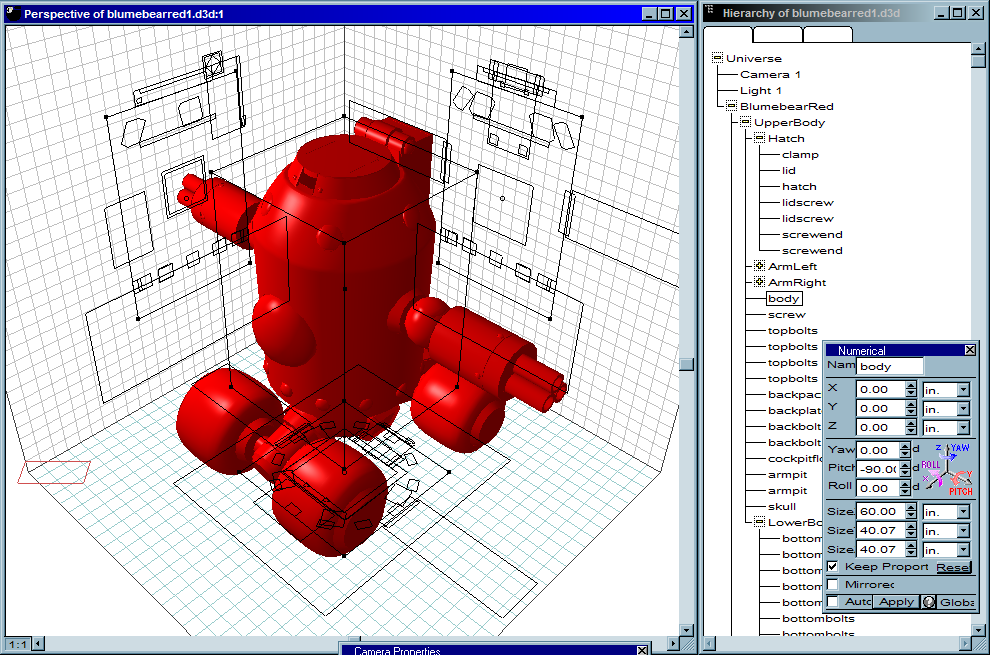
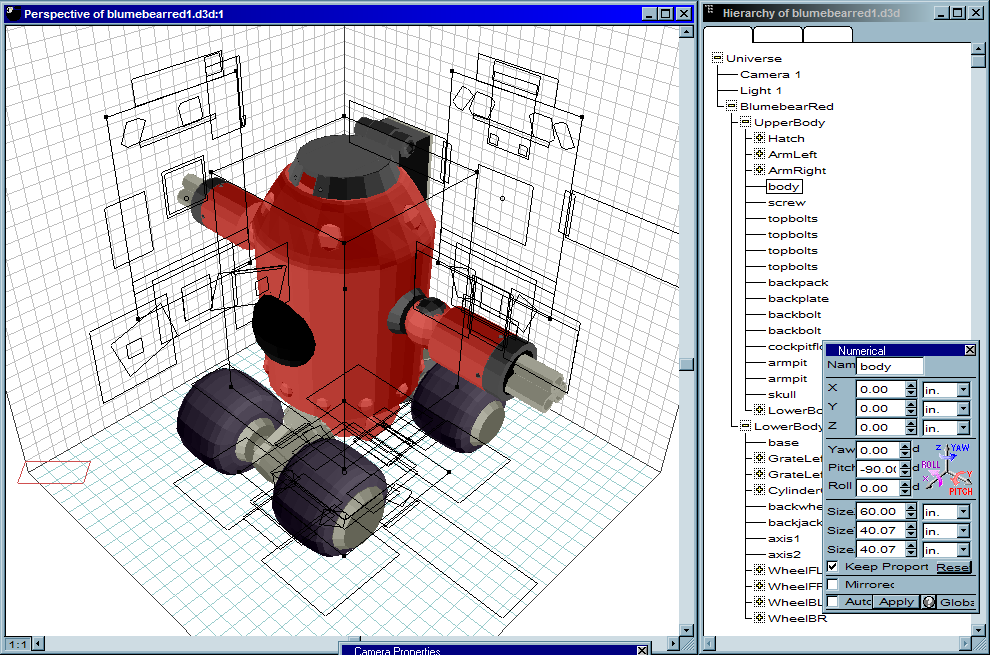
Blumebear model with no
colors or textures applied
It begins with the insertion of objects such as spheres and cylinders. Custom objects of all shapes can also created with the proper know-how, and it does indeed take quite a lot of know-how to get some things to look the way I want them in this relic of a program. The objects get resized and moved around the 3D space, and once they all come together they form the model. There is no option to bring in ortho art, it's all measured and arranged with the eye as judge.
Blumebear model with all
colors and textures applied
If I say that a model took 5 hours to make, then it's quite likely that the modeling took about an hour and the texturing took the other 4. This is the hard part. The general shapes are all assembled, and in some cases just applying plain colors to them will do fine, but most models require a lot of details. By creating a BMP image which wraps around a shape, the desired appearance can be achieved, often after a great deal of tweaking. This Blumebear was among the easier texturing jobs, though still had its moments thanks to some of the program's quirks.
Blumebear Arm Texture
Blumebear Body Texture

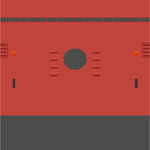
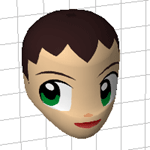
Bonne Skull Texture

Blumebear Gun Texture
It's all a matter of trial and error, repeatedly altering the image until it fits the shape just right. The simpler the shape, the easier it is because it all makes sense, but some complex shapes such as faces really throw you for a loop to the point that you can never get it perfect. Sometimes I just have to give up trying to improve something any further.
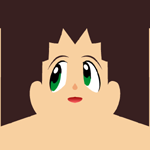
Tron's Head Texture
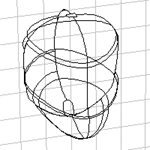
Curved Shape Wireframe
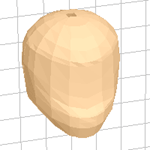
Solid Color Fill
Texture Applied
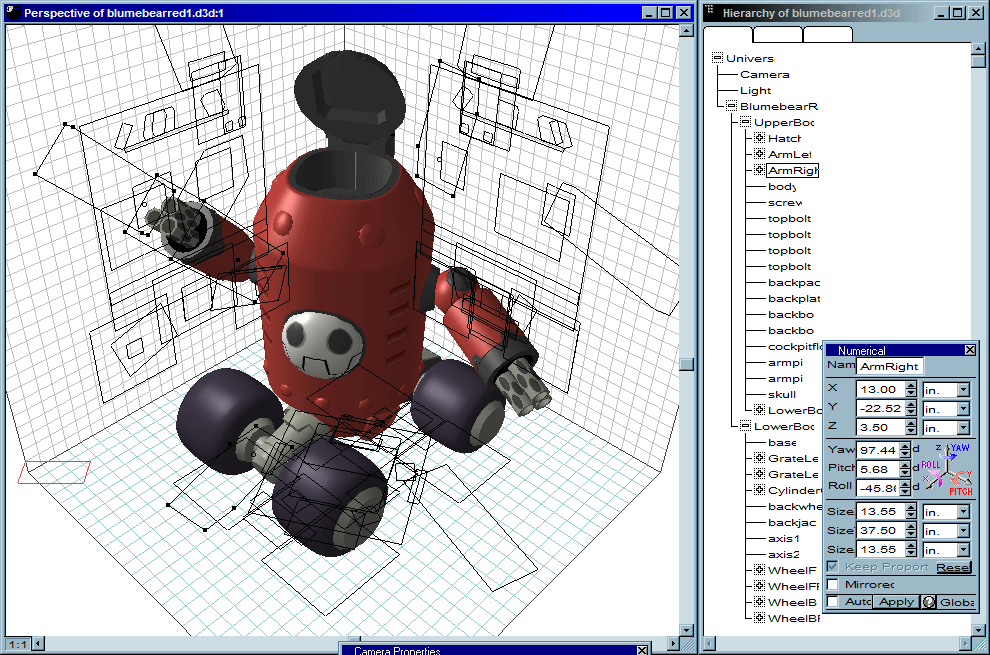
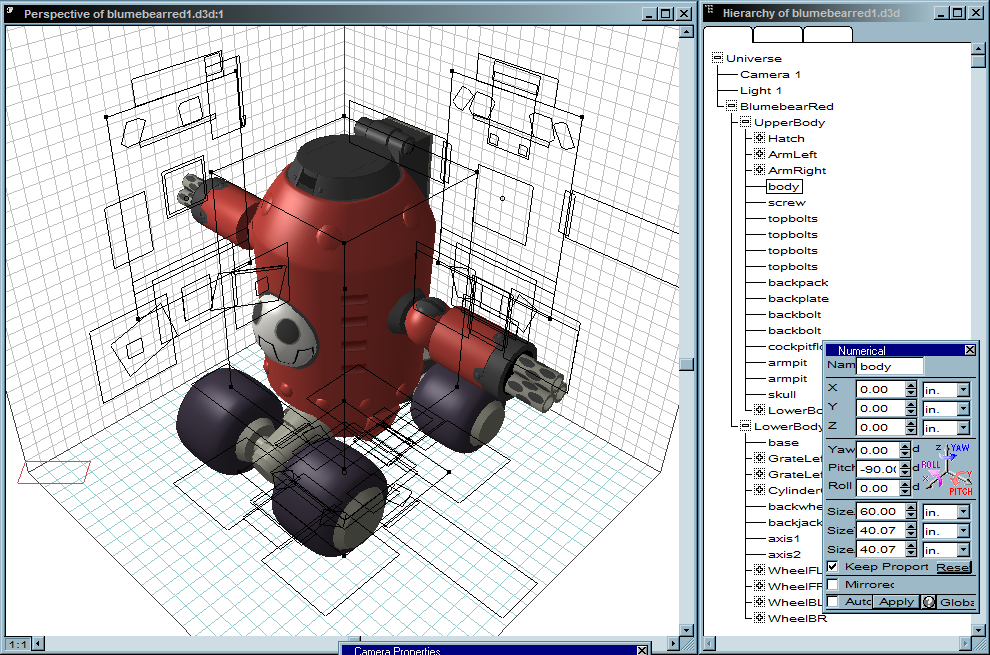
Model pieces joined
for movement
I believe this is what the 3D-savvy people call it. Basically, when I turn the upper body of the Blumebear, I don't want the skull and other parts attached to it to stay facing straight forward. These objects need to be grouped together so that they all move together. With a model all made and properly textured, this is the final step. There's no fancy skeleton-type system like the 3D programs of the present, but grouping objects and giving them a central point around which they rotate works well enough for my needs.
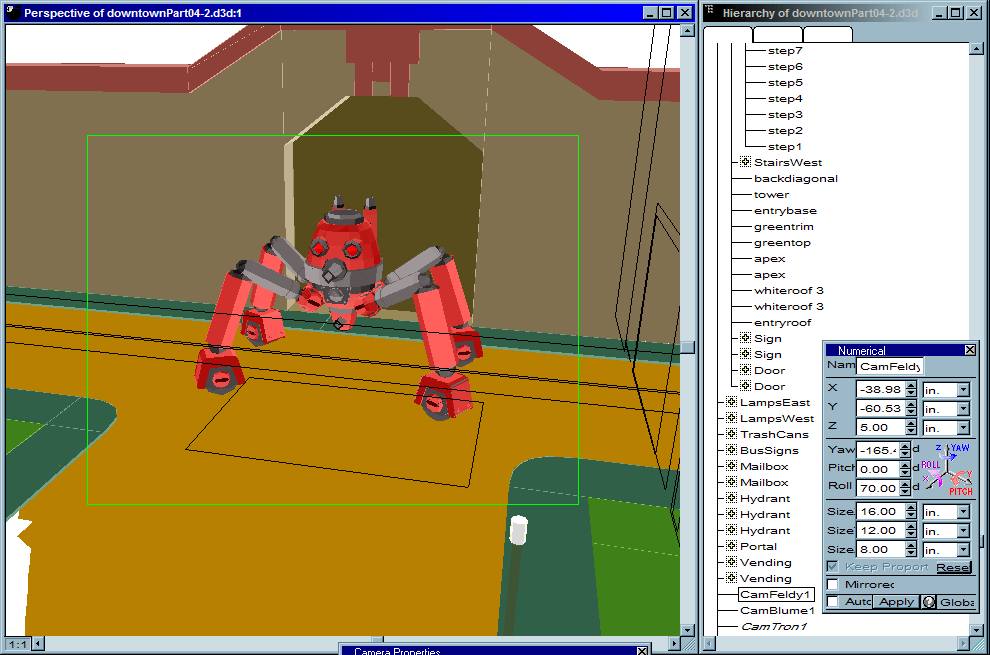
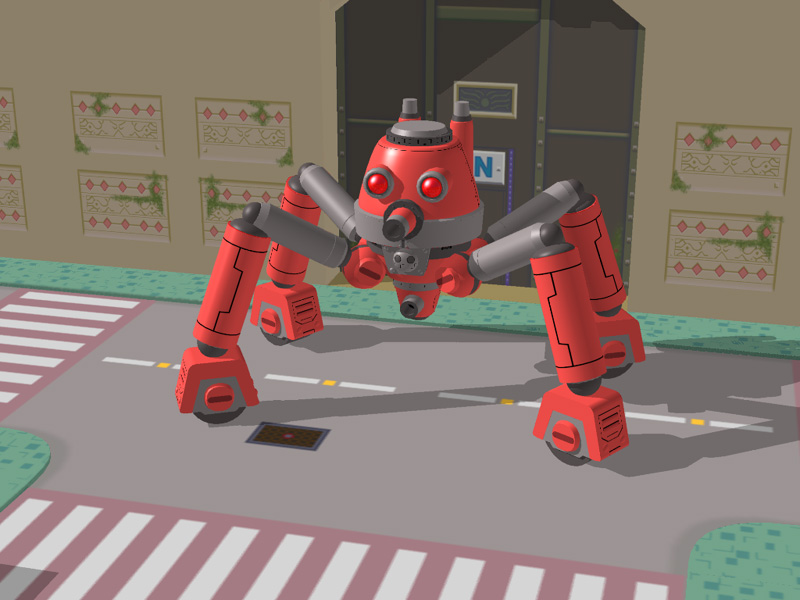
Feldynaught in
Downtown scene layout
Preview of shadows
in the scene
In the beginning, I did a lot of "green screening," rendering characters on blank backgrounds and then cutting them out. Although this helped in the rapid development of the comic at first, it makes me cringe to look back and see the sloppy, low-quality results of it. As the comic progressed, fully rendered scenes with the characters actually in their surroundings became more common, and I'm proud to say that as of Part 04, all scenes are now done this way.
The models of places and settings are created just like the character models, but there are other factors involved in making a believable scene. The scale of the models is important, as is their position relative to one another. Perhaps most important of all is the lighting, which can vary greatly depending on whether the scene is indoors or outdoors, and what time of day it is. Notice the long shadows from the west in the image at right, indicating afternoon. Choosing a suitable background (often the sky) is also important to a scene.
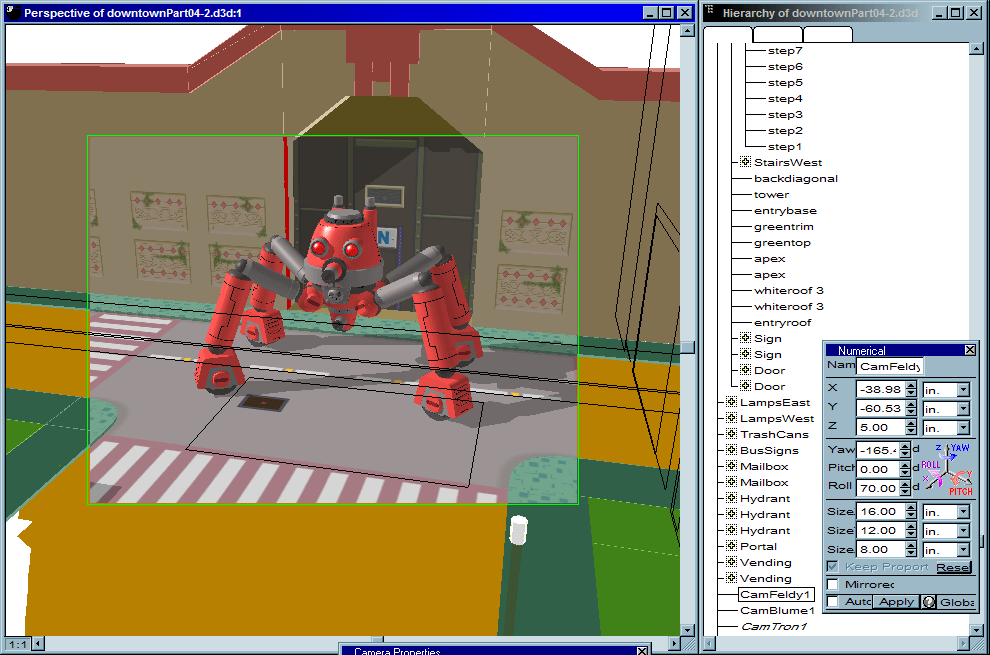
Fully rendered scene
after touchup
Once the scene is all set up and everyone and everything is in place, it's time to bring in a camera or two and find just the shot I'm looking for. I hit the button and let the program do the rest, applying all lighting and atmospheric elements to produce the final rendered image. It should be good to go, but it always requires further touching up in Photoshop. Notice the red wall edge in the image above? It happens a lot with edges in this program. A lot of things end up looking jagged as well, so there's always some painting or smoothing to be done.
Once the models are all made, they're used to make the rendered images. Once the images are all rendered, they're used to make the actual pages. Everything gets layed out and arranged in Photoshop, including elements not in the 3D scene, such as smoke or buster shots. And that as they say is that.
Hopefully everyone can understand after reading through this page that making Alternate Trigger is no walk in the park. A massive amount of work has gone into and continues to go into it, requiring a great deal of time and energy. It's also an artistic endeavor, which requires a certain frame of mind and a certain amount of inspiration to get myself into an AT groove.
Many thanks to all the enthusiastic fans who have stuck with Alternate Trigger through the lengthy dry spells!